First-run setup wizard
The first time anyone opens a new Tesria, it shows the setup wizard: a guided tour of the settings every instance needs, one question at a time. It creates your account, names your Tesria, and asks who can join and how long to keep backups. The five required steps take about two minutes, and every answer can be changed later in Administration.
Only the owner sees the wizard. Anyone else who signs in meanwhile carries on as normal.
Run it as soon as Tesria starts. Whoever creates the first account becomes the owner of the whole instance. Finish the wizard before you tell anyone the address.
Before you start
The email address and password you want to sign in with. The password needs at least 8 characters.
Somewhere safe to keep recovery codes, such as a password manager. The wizard shows them once.
Tesria’s address, the one people will type to reach it, such as
https://wiki.example.com.An authenticator app on your phone, if you want to turn on two-factor sign-in now (recommended).
How the wizard works
The steps are listed on the left, and the one you are on fills the rest of the screen. Each is marked Required, Optional or Recommended. A finished step gets a check mark, and one you skipped gets a dash; you can click either to go back to it.
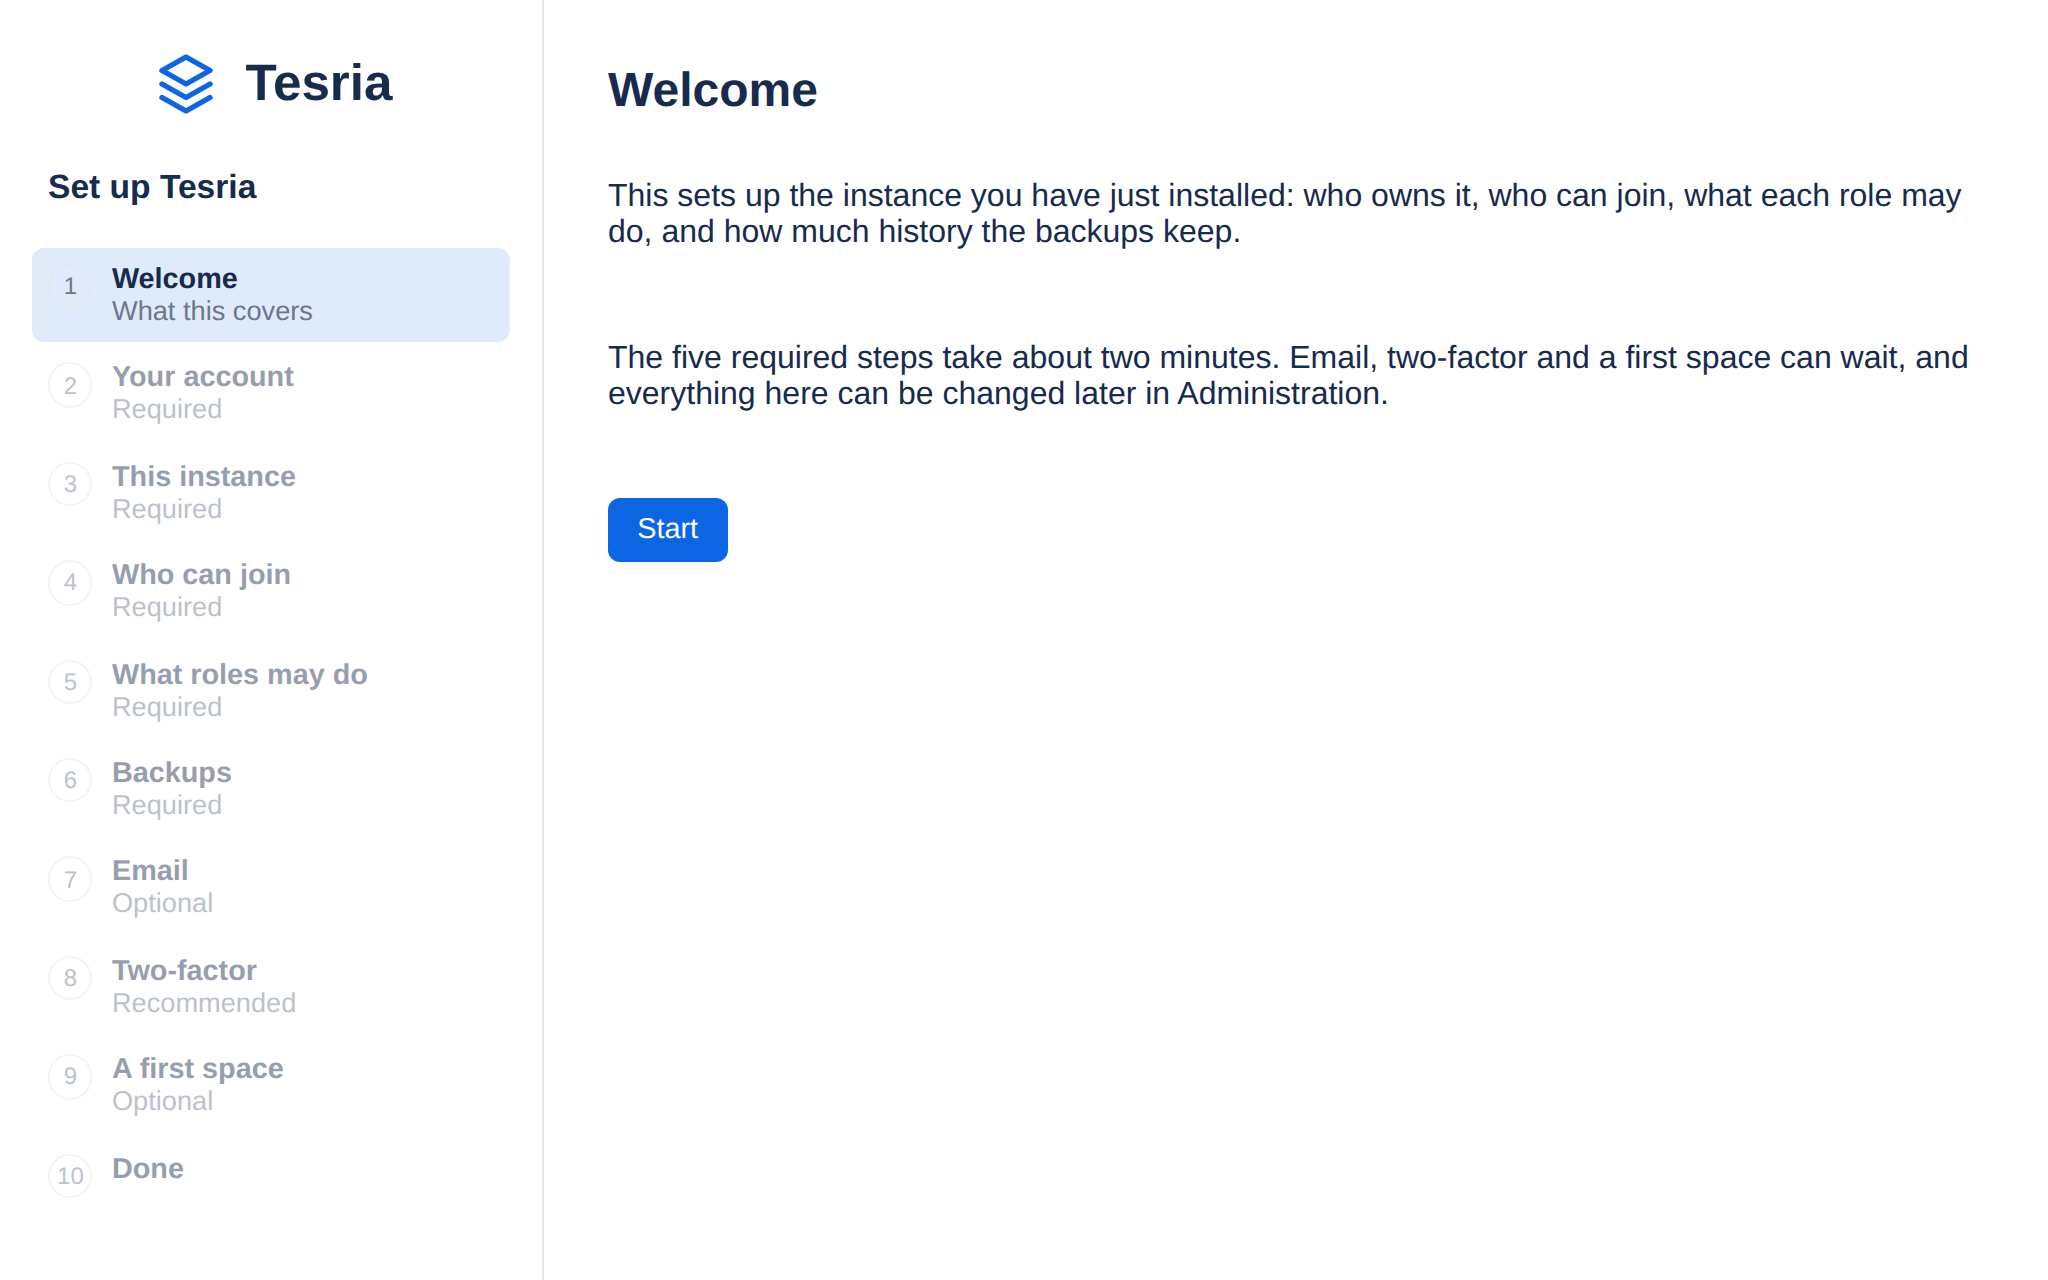
The steps below have the same numbers as the list, so you can follow along.
Step 1: Welcome
A short summary of what is ahead. Choose Start.
Step 2: Your account
This makes the first account, which becomes the owner: the one account that can hand the instance over to someone else, and the one that nobody else can suspend or reset. Enter your Email, Your name (as others will see it) and a Password, then choose Create the owner account.
Tesria then shows your recovery codes. Each one signs you in once if you ever lose your password. Save them somewhere other than this computer, tick I have saved these somewhere safe, and choose Continue.
Do not skip saving the codes. Nobody can reset the owner’s password, not even an administrator. Losing both the password and the recovery codes means losing the instance.
Step 3: This instance
What is it called: the name of your Tesria, such as Acme wiki. It appears in the browser tab, in emails Tesria sends, and in your authenticator app.
Its address: the address people reach Tesria at. It starts as the one you are using now. Links in emails use it, so if people will reach Tesria by a different name, such as
https://wiki.example.comorhttps://studio.local, put that here.
Choose Continue.
Step 4: Who can join
Pick one of the two cards; you cannot continue until you do.
Invite only: nobody can sign up on their own. You create an invite link for each person and send it to them however you like. The safer choice, and right for most teams.
Open: anyone who can reach the address can create an account. Only choose this if everyone who can reach it should be able to join, for example on a private home network.
Allow anonymous reading decides whether people can read without signing in. Off, every visitor has to sign in. On, spaces you mark as public can be read by anyone, which suits a help site or public documentation. Turning it on publishes nothing by itself: nothing is public until you mark a space. See Public reading.
Step 5: What roles may do
Every account has a role: owner, administrator or user. This step shows what each role is allowed to do, one right per row, such as creating spaces or deleting other people’s pages, with a column for each role.
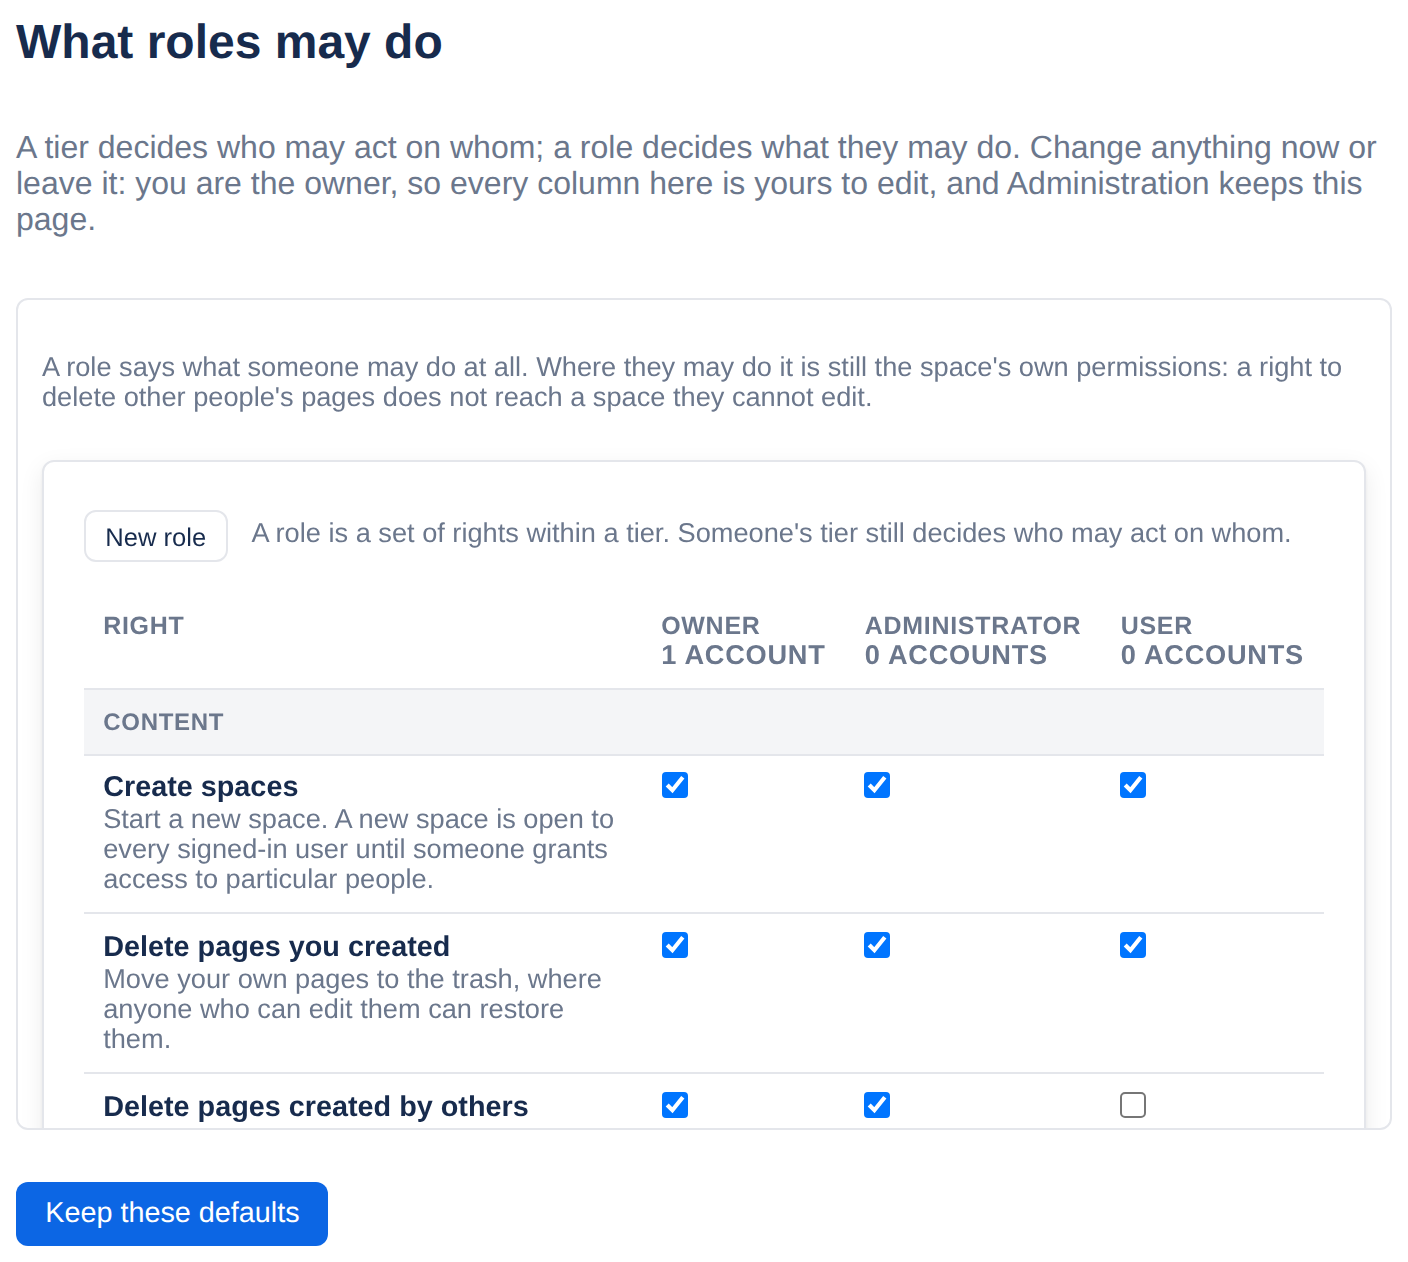
The defaults suit most teams, so the easiest answer is Keep these defaults. If something should be different, such as users not being allowed to create spaces, untick it here first. The same table is always in Administration, under Roles; see Roles.
Step 6: Backups
Tesria is already backing itself up: a daily copy of the database and every uploaded file, plus a continuous backup that can rewind the database to any moment. This step decides how much of that history to keep.
The suggestion is to keep the newest 3 backups, and everything from the last 14 days. Keeping more uses more disk space. Keep every backup forever never removes any, which is only wise with plenty of disk to spare. Choose Keep these settings.
The backups are encrypted with BACKUP_ENCRYPTION_KEY from your .env file. If you have not already, save a copy of it somewhere other than this server. Without it, the backups cannot be read.
To keep a copy of your backups somewhere else, which is what saves you if the server itself is lost, see Offsite copies.
Step 7: Email
Tesria sends password resets, invitations and notifications by email, through an email server (SMTP) such as your email provider’s. If you have its details, fill in the SMTP host, Port (587 is the usual one), Username and From address, and choose Continue. The password and a test email are in Administration, under Settings.
No email server? Choose Skip for now. Tesria works fine without one: when someone forgets their password, you give them a one-time reset link from Administration instead. See Email (SMTP) when you are ready.
Step 8: Two-factor
Two-factor sign-in means signing in takes your password and a six-digit code from an app on your phone, so a stolen password alone is not enough. It is recommended for the owner in particular, because nobody can reset that account.
If you signed in more than a few minutes ago, enter your Current password first. Then choose Set up two-factor.
Scan the code it shows with an authenticator app, such as Aegis, 1Password, Google Authenticator or Authy.
Enter the six digits the app shows, and choose Turn on.
Then choose Continue. Or choose Skip for now and do it later from your profile; see Two-factor and recovery codes.
Step 9: A first space
A space holds the pages for one team, project or topic. Type a Name, such as Team handbook, and a short Key, such as TEAM. Tesria starts the key for you from the name; check it and make it what you want, at least two letters and digits. The key is part of the address of every page in the space and cannot be changed later. Choose Continue, or Skip for now to make spaces later. Creating a space helps you decide what deserves a space of its own.
Step 10: Done
The last step says your instance is ready and lists any steps you skipped; each one is waiting in Administration. Choose Finish.
Before finishing, Tesria checks that the required steps really are done. If one is not, it takes you back to that step.
Tesria then offers a short welcome tour of five screens, on spaces, writing, working together, finding things and your profile. Take it or leave it: you can open it again later from your profile. See The tour and tips.
Stopping partway
You do not have to finish in one go. What you have answered is saved as you go. Close the browser, and the next time you sign in as the owner the wizard opens again, with your finished steps ticked.
On a phone
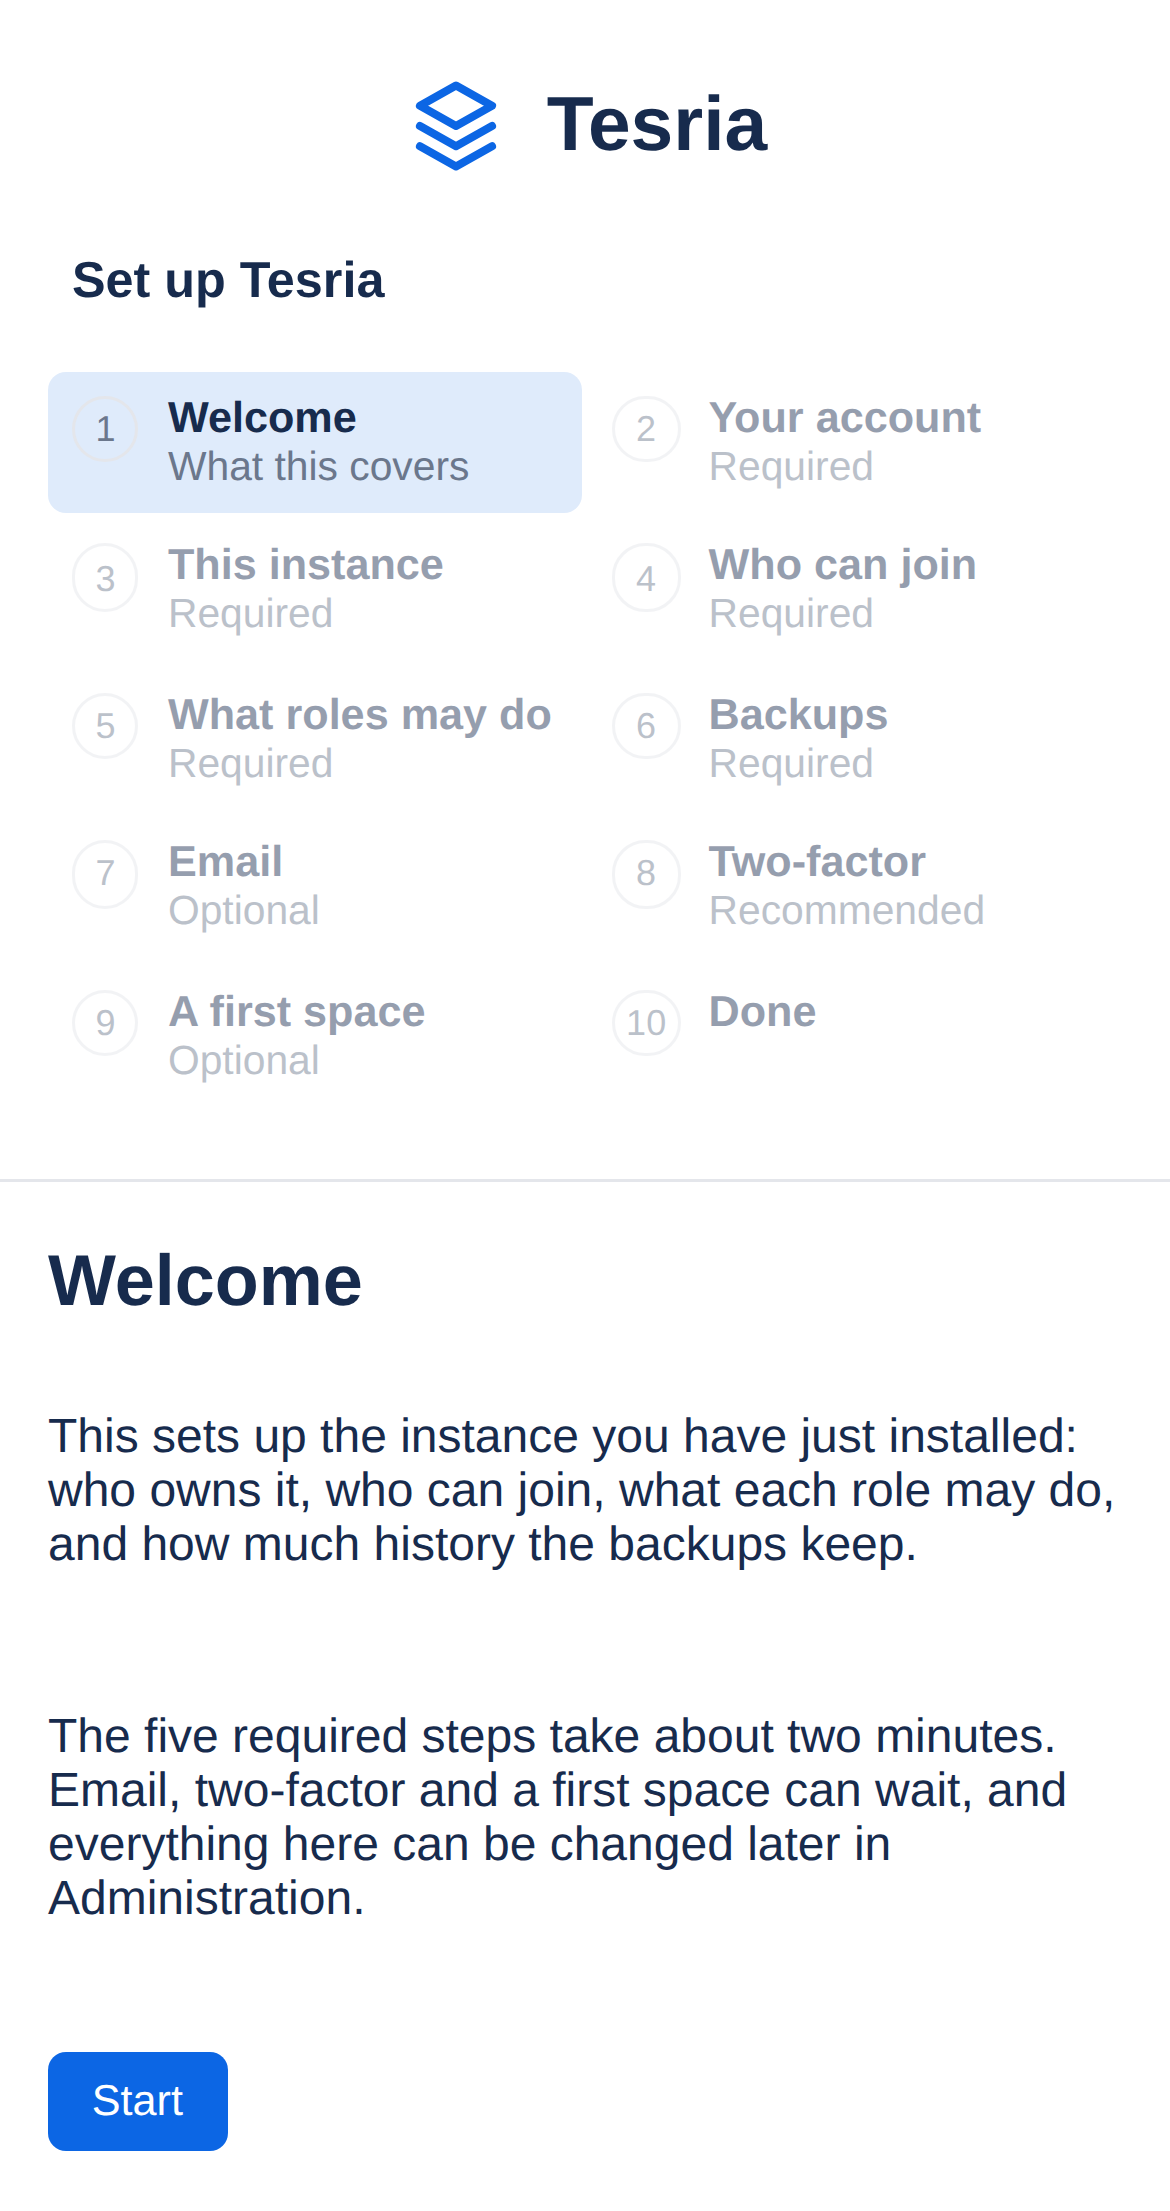
The wizard works on a phone too. The list of steps sits above the question instead of beside it, two to a row, so scroll down past it to the step you are on.
Next
Your Tesria is ready. Your first space and page walks you through writing something and inviting people to read it.
Applies to | Tesria 0.5 and later |
|---|---|
Updated | September 24, 2026 |
Changes | Revised. |