Setting up a phone or tablet
A phone needs the same two things as a computer before Tesria is comfortable to use on it: the right address, and, on a Tesria that runs on your own network, trust in its security certificate. Both take a few minutes, once.
Step 1: Open Tesria by its name
Open Tesria in the phone’s browser at the same address you use on your computer, such as https://wiki-server.local. If Tesria runs on your own network, the phone has to be on that network too, and the name matters: opened by a number such as 192.168.1.50, the secure connection does not work. See Opening Tesria by name.
Step 2: Trust the server, if the browser warns you
If the browser says the connection is not private, your Tesria makes its own certificate, and the phone has to be told to trust it. The Trust this device guide walks you through it. On the phone, open http://your-server/trust (with http, not https), where your-server is your Tesria’s address, and choose your kind of phone.
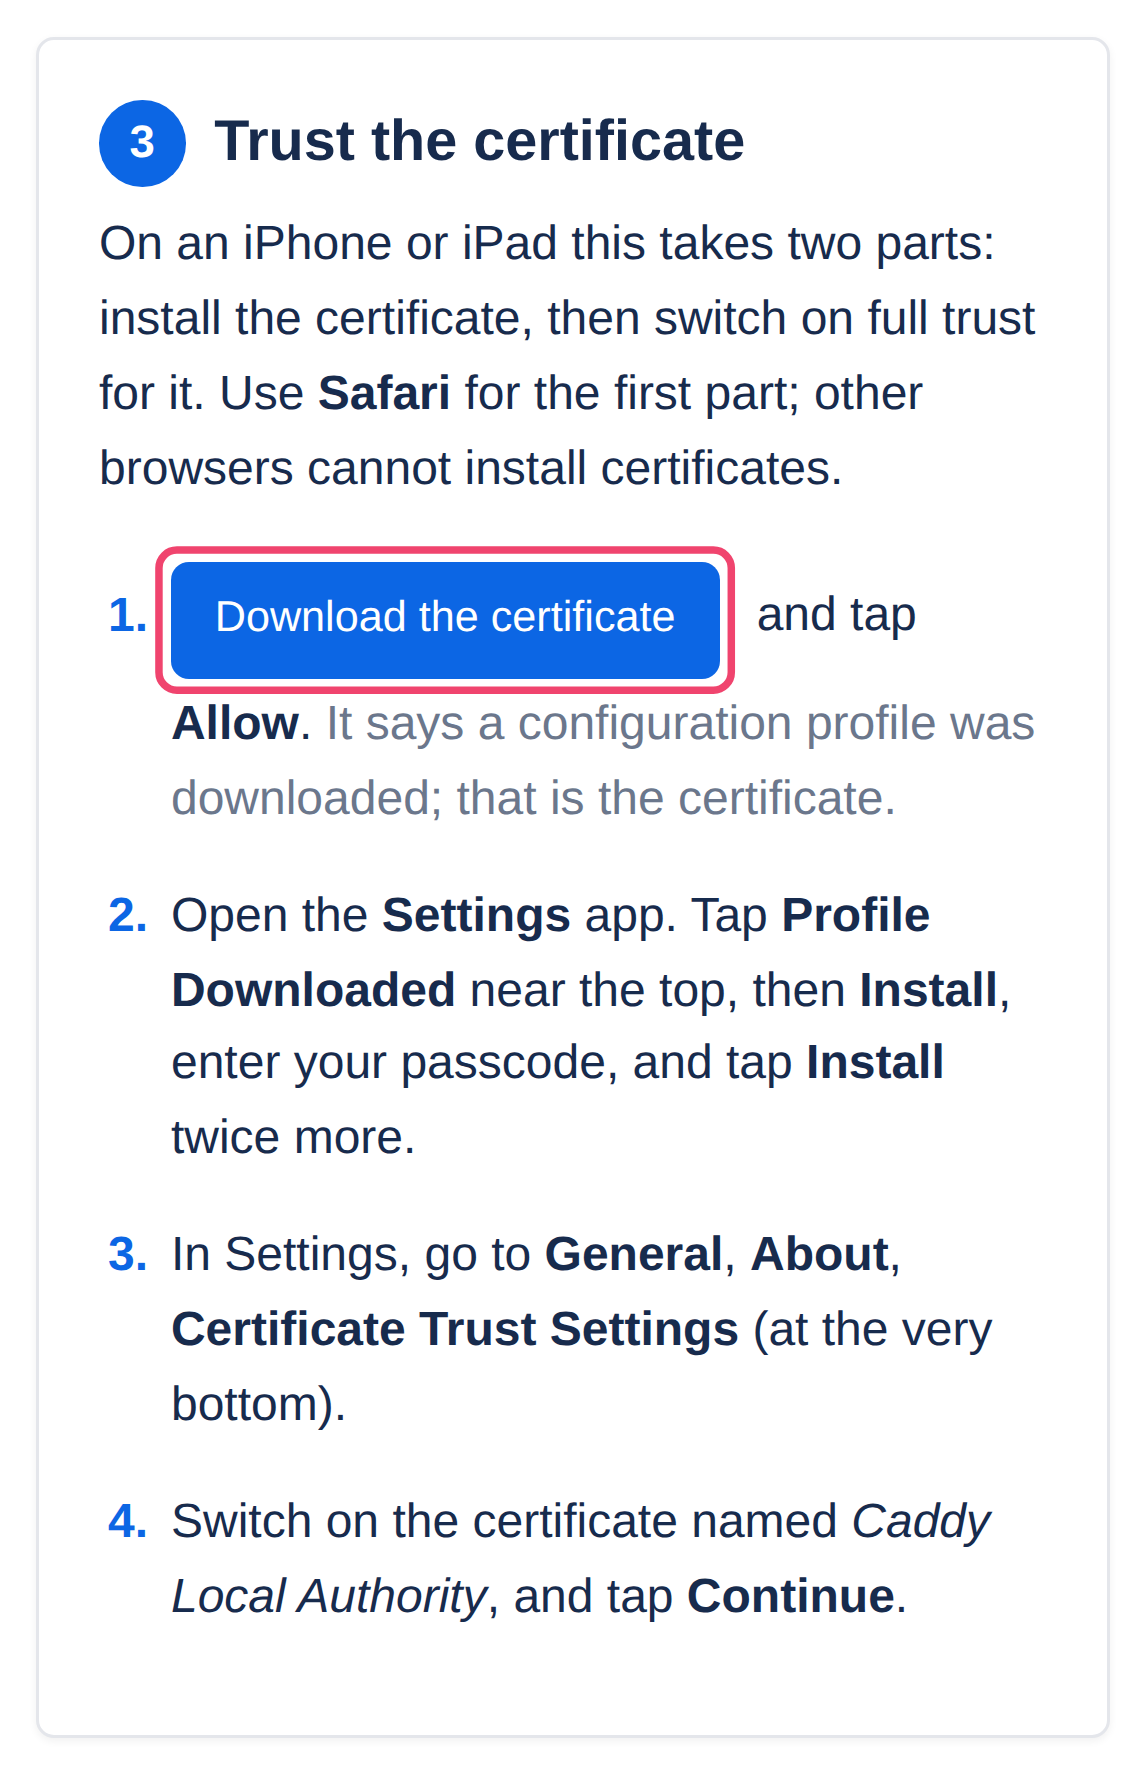
On an iPhone or iPad, use Safari: other browsers there cannot install certificates. It takes two parts, installing the certificate and then switching on trust for it in the Settings app.
On Android, the certificate is installed from Settings. The menus differ a little between phone makers; the guide says where to look.
Every step, with what to tap, is in Trusting the local certificate, under On a phone. Once you are signed in, the same guide is on your profile, under Trust this device.
Step 3: Sign in
Sign in as on a computer. If you use two-factor sign-in, the code comes from the authenticator app as usual, even when that app is on the same phone.
Signed in somewhere you should not be?
Every phone you sign in on appears in your profile’s Sessions card, as something like Safari on iOS or Chrome on Android. If you lose a phone, sign it out from there on any other device. See Sessions.
Applies to | Tesria 0.5 and later |
|---|---|
Updated | September 24, 2026 |
Changes | Revised. |