Creating a page
A page is one document in a space: a meeting’s notes, a how-to, a project plan. Pages can sit under other pages, so a space can be organized like a book, with chapters and the sections inside them. This page walks you through making one.
Step 1: Go to where the page belongs
Where the new page goes depends on where you are when you start it:
On a page: the new page goes under it, as a sub-page. To add a meeting to a “Meeting notes” page, open “Meeting notes” first.
On the space’s home, or its settings: the new page goes at the top level of the space.
You can always move it later; see Moving and copying pages.
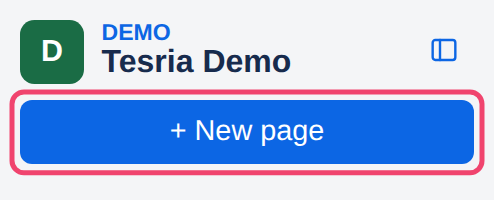
Step 2: Choose + New page
On a computer, it is near the top of the space’s sidebar. On a phone, it is + New, in the bar above the page.
Step 3: Give it a title
Type the title in the Page title box at the top. Press Enter to move down to the body. If the space has templates, you can start from one instead of a blank page; see Templates.
Step 4: Write
Type as you would anywhere else. To add something other than text, such as a table, a picture or a colored panel, type / on a new line and choose from the list. See The slash menu and The editor.
Step 5: Choose Publish
Publish is at the top right, above the page.

Until you publish, the page is a draft that only you can see. A page needs a title before it can be published. After that, anyone who can see the space can read it, and anyone watching the space is told about it.
Changing your mind
Close, beside Publish, throws the new page away. For what happens to your work when you leave the editor, and when you change a page later, see Drafts, Publish and Update.
Applies to | Tesria 0.5 and later |
|---|---|
Updated | September 24, 2026 |
Changes | Revised. |